

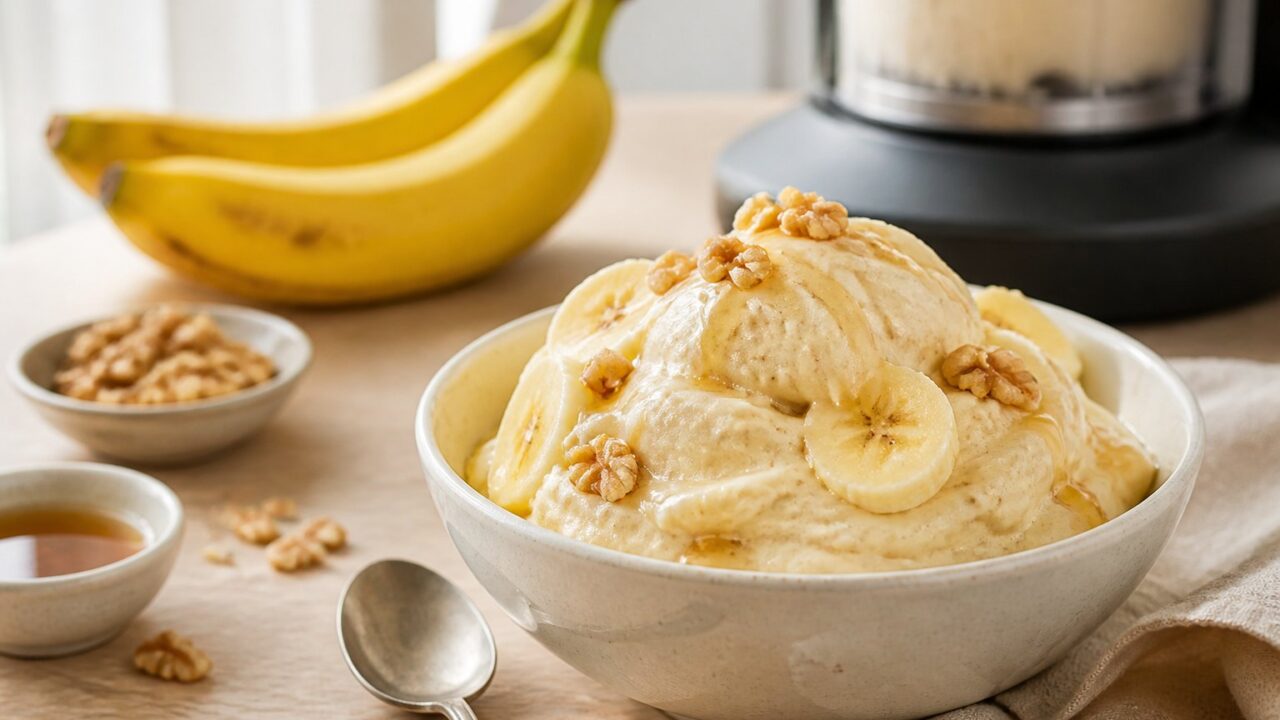
Tell Me About This Ninja Creami Banana Ice Cream
Natural Sweetness: This recipe uses ripe bananas for a delicious sugar-free taste profile that feels truly indulgent.
Velvety Texture: The Ninja Creami technology ensures your dessert comes out perfectly smooth every single time you spin.
Quick Prep: You can assemble these ingredients in just ten minutes before freezing them for the next day.
Budget Friendly: Making treats at home saves money compared to buying expensive pints at the local grocery store.
Why This Recipe is Good For You
This Ninja Creami Banana Ice Cream Recipe is a great way to enjoy a cold treat. It is much healthier than store-bought options that have lots of sugar.
Bananas give you natural potassium and fiber for your body. Using your own milk means you control exactly what goes inside.
If you want other frozen ideas, try my Ninja Creami Lime Sherbet Recipe for variety. It is simple, fresh, and perfect for hot summer afternoons at home.
Equipment List
Ninja Creami Machine: This is the main tool needed to churn your frozen base into ice cream.
Creami Pint Container: Use the official pint container that comes with your machine for freezing the mixture.
Mixing Bowl: A standard bowl is helpful for combining your ingredients before pouring them into the pint.
Fork or Whisk: Use these simple tools to mash the fruit and blend your liquids together well.
Ingredients You Need for Ninja Creami Banana Ice Cream
Ripe Bananas: These provide the base and sweetness; ensure they have brown spots for best results.
Milk of Choice: You can use dairy, almond, or oat milk depending on your personal dietary needs.
Vanilla Extract: A small splash adds a warm, aromatic flavor that complements the banana perfectly.
Maple Syrup: This is optional but helps if you want a little extra sweetness in your ice cream.
How to Assemble
1. Mash the Fruit
Start by peeling your ripe bananas. Use a fork to mash them into a smooth paste in a bowl.
2. Mix the Liquids
Add your milk, vanilla, and syrup to the banana. Stir everything well until the mixture is uniform.
3. Freeze the Pint
Pour your base into the pint container. Place it in the freezer on a level surface for 24 hours.
4. Process the Ice Cream
Remove the pint from the freezer. Lock it into the machine and select the Ice Cream setting.
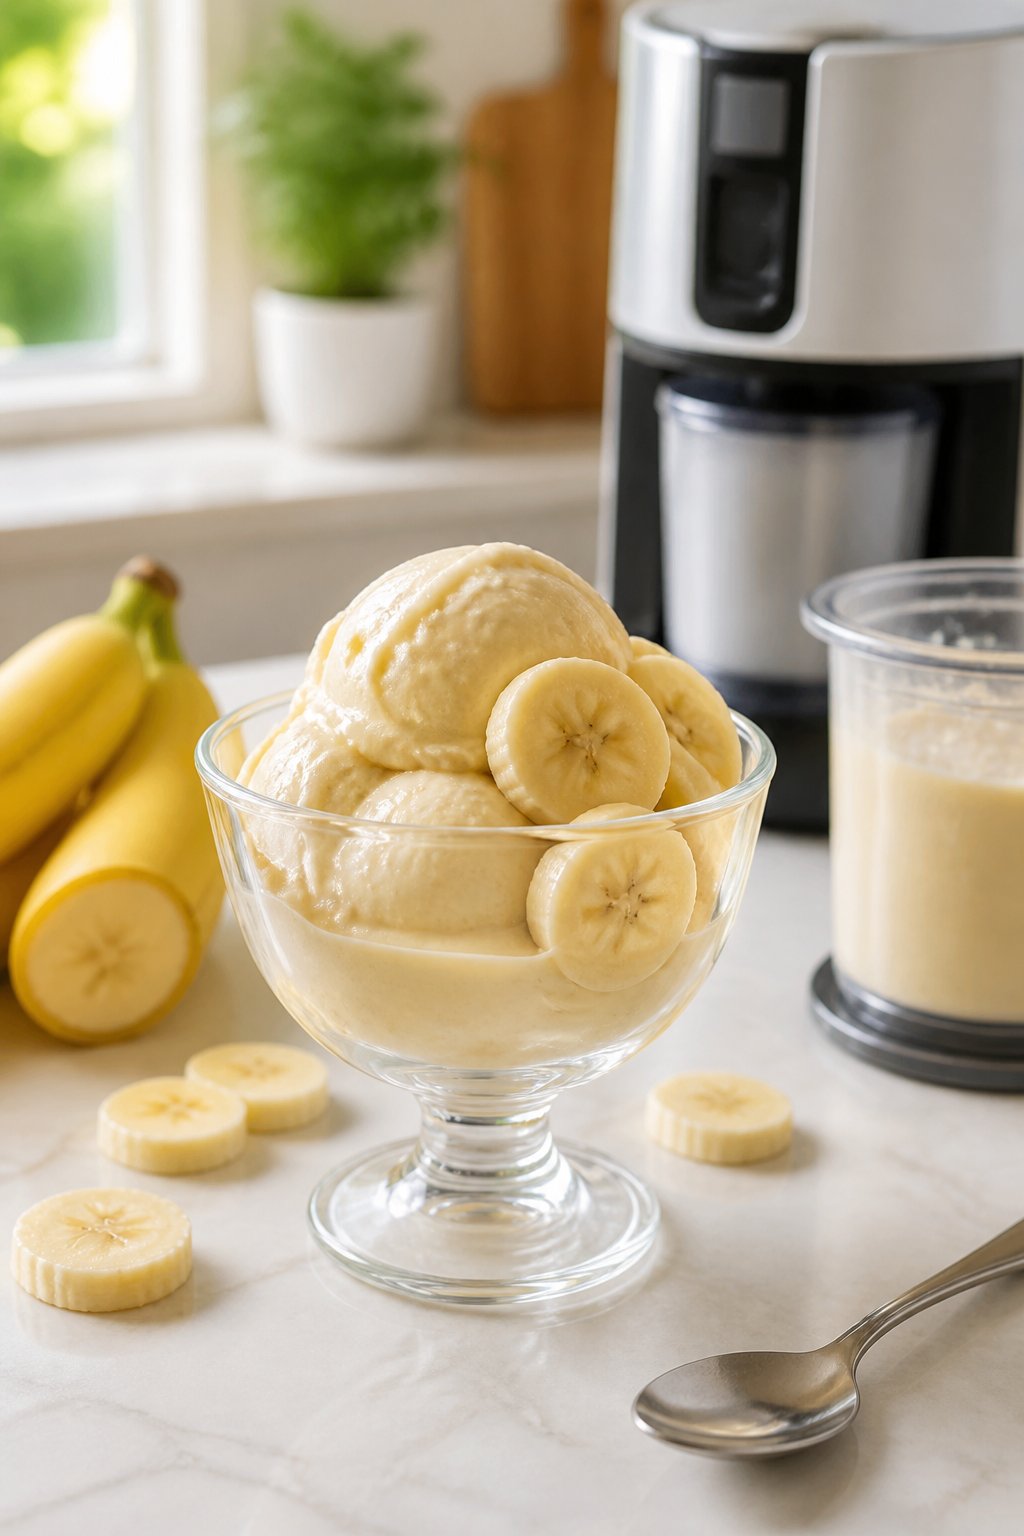
Recipe Success Tips
➡️ Always freeze your pint on a flat surface to keep the top level.
➡️ If the mixture looks crumbly, add a splash of milk and re-spin.
➡️ Make sure your freezer is set to the coldest temperature for freezing.
➡️ Use very ripe, spotty bananas for the best natural sweetness and flavor.
How To Store Leftover
If you have any leftovers, simply smooth the surface of the ice cream. Place the lid back on the container tightly to prevent freezer burn.
Store it in the back of your freezer for up to one week. When you want to eat it again, let it sit on the counter for five minutes.
What to Serve With This
Banana ice cream tastes wonderful with crunchy toppings like crushed walnuts or granola. You can also drizzle some chocolate sauce over the top for a decadent flair.
If you are hosting a party, serve it alongside some Creamy No Bake Peanut Butter Cheesecake Balls Recipe. These treats pair perfectly with the smooth banana flavor for a fun dessert spread that everyone will absolutely love.
Holiday & Event Matchups
This dish is perfect for summer pool parties or casual weekend family gatherings. The light flavor makes it a hit with kids and adults during any celebration.
Try serving it during a brunch next to some Mary Berry Chelsea Buns Recipe for a classic dessert finish. These simple combinations make your events feel special without requiring hours of extra work in the kitchen.
Nutritions
Serving size: 1/2 pint. Calories: 180 kcal. Fat: 2g. Carbohydrates: 35g. Protein: 3g. Sugar: 22g.
FAQs about Ninja Creami Banana Ice Cream
Can I use green bananas? No, you should use ripe bananas because green ones are not sweet enough and have a starchier texture that won’t blend well.
How long does the machine take? The process typically takes about two minutes. The machine churns the frozen block into a soft-serve consistency quickly and efficiently every single time.
Can I add mix-ins? Yes, you can use the mix-in function. Add chocolate chips, nuts, or cookies after the first spin and run the mix-in cycle to incorporate them.
Conclusion
Learning how to make Ninja Creami Banana Ice Cream is incredibly rewarding. This healthy dessert is perfect for satisfying your sweet tooth any day.
Follow these steps to enjoy a creamy, delicious bowl at home. Enjoy your homemade treat with your family and friends this weekend!
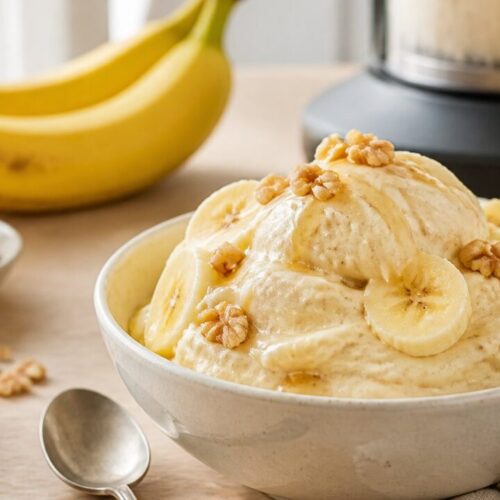
Ninja Creami Banana Ice Cream Recipe
Ingredients
- 2 large ripe bananas
- 1 cup milk of choice
- 1 tsp vanilla extract
- 1 tbsp maple syrup
Instructions
- Mash the ripe bananas until smooth.
- Whisk in the milk, vanilla, and syrup.
- Pour mixture into the Ninja Creami pint.
- Freeze for 24 hours until solid.
- Process in the Ninja Creami machine using the Ice Cream setting.
- Add a splash of milk if it looks crumbly and spin again.