

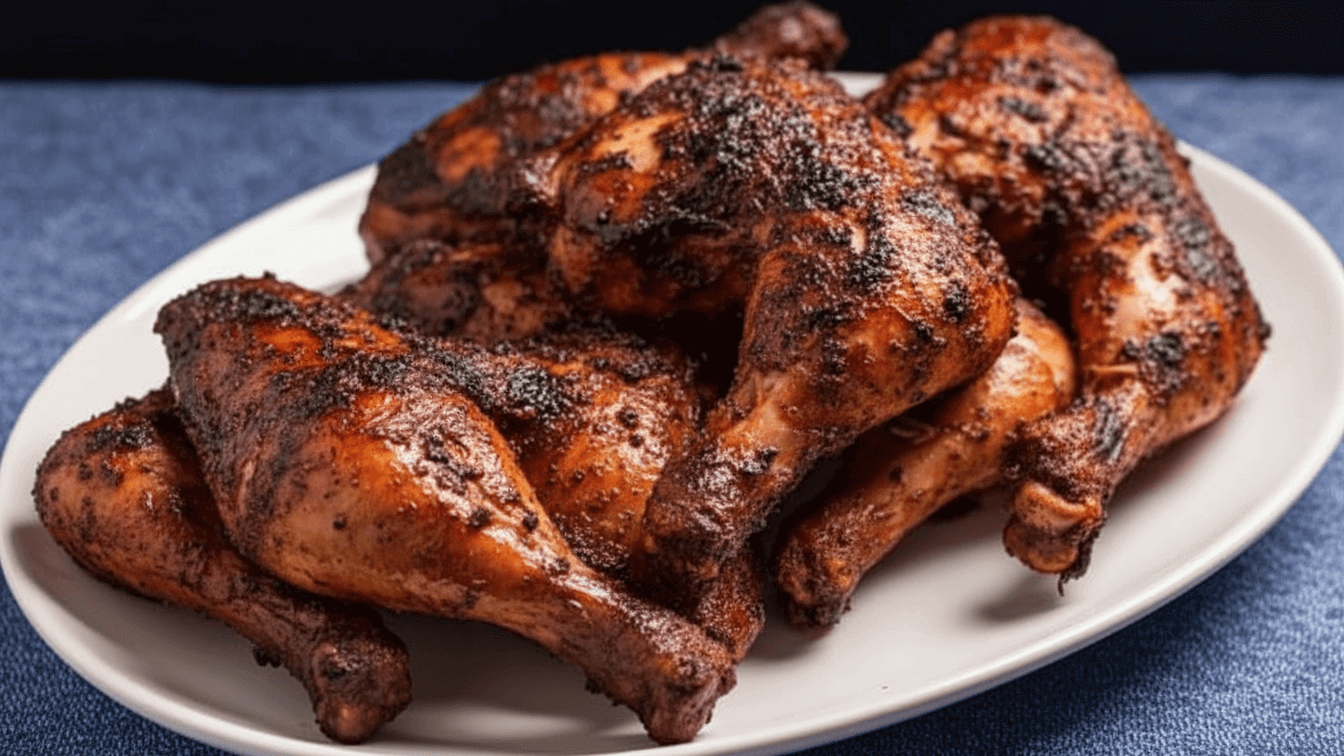
Have you ever tasted chicken that’s smoky and juicy? Nelsons Port A Pit Chicken Recipe is that amazing dish.
This chicken is grilled to perfection with special spices. The Port A Pit cooking method makes it incredibly tender.
I’m excited to share this Nelsons Port A Pit Chicken Recipe with you. You’ll learn how to make this delicious chicken at home.
The flavors will surprise your family and friends. Let’s start cooking this wonderful Nelsons Port A Pit Chicken Recipe together. Get ready for the best grilled chicken ever.
When I First Introduced to Nelsons Port A Pit Chicken
I discovered this chicken at a summer fair years ago. The smell pulled me toward the food stand immediately.
I took one bite and fell in love instantly. The chicken was perfectly charred on the outside. Inside, it was juicy and full of flavor.
The secret seasoning made it taste absolutely incredible. I asked the cook about the recipe politely. He shared some tips about the Port A Pit method.
Since then, I’ve been making this at home regularly. Now it’s my favorite recipe for outdoor gatherings. Everyone always asks me for the secret recipe.
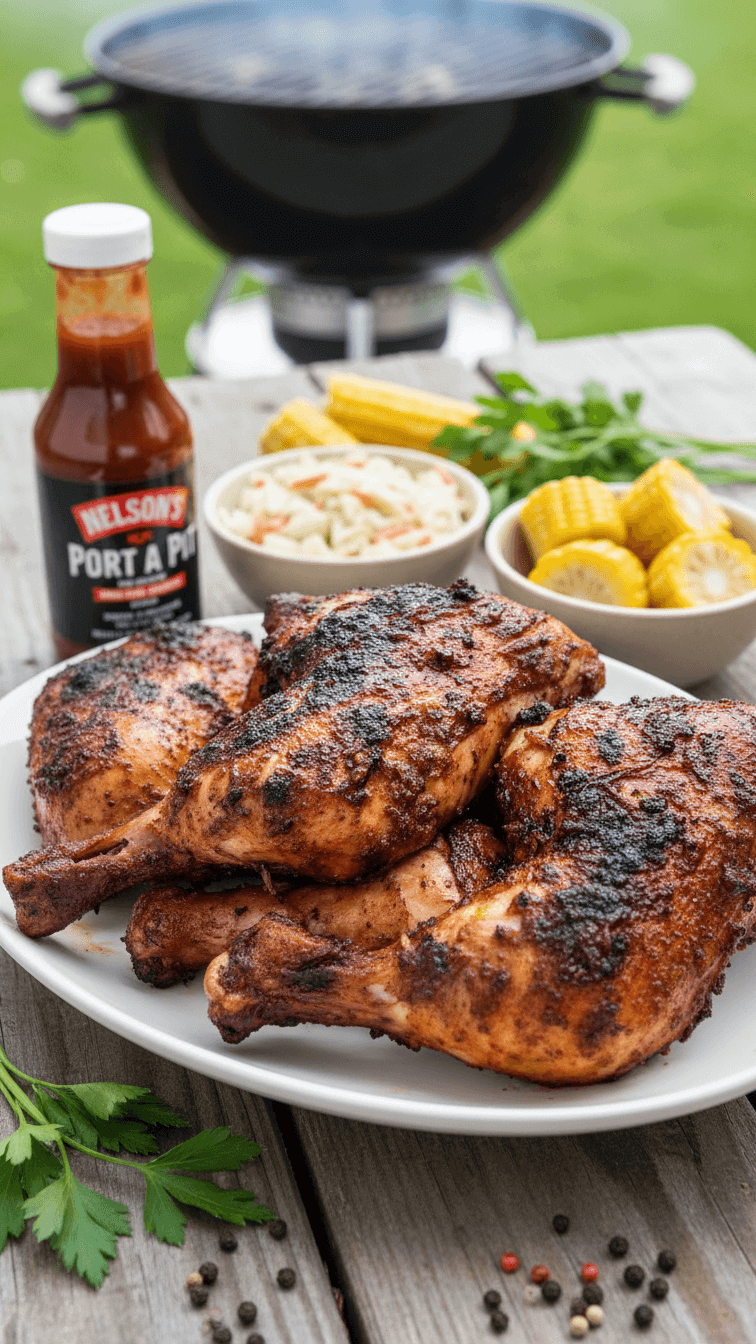
Equipment List
You need the right tools for perfect chicken. Here’s what you should gather before starting:
- Large charcoal grill or smoker
- Meat thermometer
- Long metal skewers
- Basting brush
- Large mixing bowl
- Heavy-duty aluminum foil
- Tongs
- Sharp knife
- Cutting board
Ingredients You Need for Nelsons Port A Pit Chicken
For this recipe, gather these simple ingredients:
- 4 pounds whole chicken, cut into quarters
- 2 tablespoons vegetable oil
- 2 tablespoons paprika
- 1 tablespoon garlic powder
- 1 tablespoon onion powder
- 2 teaspoons black pepper
- 2 teaspoons salt
- 1 teaspoon cayenne pepper
- 1 teaspoon dried oregano
- 1 cup apple cider vinegar
- 1/2 cup water
- 1/4 cup vegetable oil
- 2 tablespoons Worcestershire sauce
- 1 tablespoon hot sauce
- 1 teaspoon salt
Step-by-Step Guide
- Start by washing the chicken pieces thoroughly. Pat them completely dry with paper towels.
- Wet chicken won’t get that crispy skin. Rub each piece lightly with vegetable oil.
- This helps the seasonings stick to the meat. Place all pieces in your large bowl.
- Mix all the dry rub spices together well. Combine paprika, garlic powder, and onion powder first.
- Add the peppers, salt, and oregano next. Stir everything until colors blend evenly together.
- This creates your signature Port A Pit seasoning.
- Sprinkle the dry rub generously over each piece.
- Use your hands to massage it in thoroughly. Make sure every part gets covered with seasoning.
- Don’t forget to season under the skin too. Let the chicken sit for 30 minutes minimum.
- This allows flavors to soak into the meat.
- Combine vinegar, water, and oil in a bowl.
- Add Worcestershire sauce and hot sauce to it. Mix in the salt until everything combines well.
- Taste and adjust the seasoning if needed. Keep this sauce ready beside your grill.
- Light your charcoal and let it burn down. You want medium heat, not blazing hot flames. Push coals to one side for indirect cooking.
- This prevents the chicken from burning too quickly. Oil your grill grates to prevent sticking issues.
- Place chicken pieces on the cooler grill side. Skin side should face up at first. Close the lid to trap the smoke inside.
- Let it cook for about 20 minutes undisturbed. Don’t peek too often or heat escapes.
- Open the grill and baste chicken with sauce. Use your brush to coat each piece generously. Flip the chicken to cook the other side.
- Baste again after flipping for maximum flavor. Close the lid and cook 20 minutes more.
- Keep basting every 15 minutes until chicken is done. The sauce creates that signature tangy flavor.
- Flip the pieces occasionally for even cooking. Watch for flare-ups from dripping fat carefully. Move chicken away from any flames immediately.
- Insert your meat thermometer into the thickest part. It should read 165°F for safe eating. The juices should run clear, not pink.
- The skin should look golden and crispy. If not done, cook a few minutes longer.
- Remove chicken from the grill onto a platter. Let it rest for 10 minutes before serving.
- This keeps all the juices inside the meat. The resting time makes chicken extra tender. Serve hot with your favorite summer sides.
Tips to Make the Best Nelsons Port A Pit Chicken
- Start with quality chicken from a trusted source. Fresh chicken always tastes better than frozen options.
- Don’t rush the marinating time for best results. Patience makes the flavors develop properly and deeply.
- Keep your grill temperature steady throughout the cooking. Too hot will burn the outside quickly.
- Too cool takes forever and dries the meat. Medium heat gives you the perfect balance needed.
- Baste often but don’t overdo it completely. Each basting adds flavor but also cools down.
- Find your rhythm between basting and cooking time. The vinegar sauce keeps the chicken moist always.
- Use real charcoal instead of gas if possible. Charcoal gives that authentic smoky Port A Pit taste.
- Wood chips add even more delicious flavor depth. Hickory or apple wood work wonderfully for chicken.
- Let the chicken rest after cooking is finished. Cutting immediately releases all the precious juices.
- Those 10 minutes make a huge difference overall. Your patience will be rewarded with tender meat.
FAQs about Nelsons Port A Pit Chicken
Q: Can I use chicken breasts only for this recipe?
A: Yes, chicken breasts work perfectly fine for this. They cook faster than quarters, around 25-30 minutes. Watch them carefully to prevent drying out completely.
Q: What if I don’t have a charcoal grill?
A: Gas grills work well for this chicken recipe. You can even use your oven’s broiler setting. The flavor differs slightly but tastes great still.
Q: How long can I marinate the chicken?
A: You can marinate for up to 24 hours safely. Longer marinating creates deeper, more complex flavors. Just keep it refrigerated the entire time always.
Q: Can I make this chicken in advance?
A: Yes, grilled chicken reheats beautifully for later meals. Store it in an airtight container in refrigerator. It stays good for up to 4 days.
Q: Is this recipe spicy or mild overall?
A: The heat level is moderate with adjustable spiciness. Reduce cayenne pepper for a milder version easily. Add more hot sauce if you prefer extra heat.
Final Thoughts
Nelsons Port A Pit Chicken Recipe brings restaurant quality home. This chicken tastes amazing at summer barbecues always.
The smoky flavor and tender meat impress everyone. Making it is easier than you might think. Just follow these simple steps carefully and patiently.
Your family will request this chicken repeatedly guaranteed. The tangy basting sauce makes it truly special. Try this recipe at your next gathering soon.
I promise it will become your favorite too. Happy grilling and enjoy every delicious bite today!
More Amazing Recipes
Nelsons Port A Pit Chicken Recipe
Equipment
- Large charcoal grill or smoker
- Meat thermometer
- Long metal skewers
- Large mixing bowl
- Basting brush
- Heavy-duty aluminum foil
- Tongs
- Sharp knife
- Cutting board
Ingredients
- 4 pounds whole chicken cut into quarters
- 2 tablespoons vegetable oil
- 2 tablespoons paprika
- 1 tablespoon garlic powder
- 1 tablespoon onion powder
- 2 teaspoons black pepper
- 2 teaspoons salt
- 1 teaspoon cayenne pepper
- 1 teaspoon dried oregano
- 1 cup apple cider vinegar
- 1/2 cup water
- 1/4 cup vegetable oil
- 2 tablespoons Worcestershire sauce
- 1 tablespoon hot sauce
- 1 teaspoon salt
Instructions
- Start by washing the chicken pieces thoroughly. Pat them completely dry with paper towels.
- Wet chicken won’t get that crispy skin. Rub each piece lightly with vegetable oil.
- This helps the seasonings stick to the meat. Place all pieces in your large bowl.
- Mix all the dry rub spices together well. Combine paprika, garlic powder, and onion powder first.
- Add the peppers, salt, and oregano next. Stir everything until colors blend evenly together.
- This creates your signature Port A Pit seasoning.
- Sprinkle the dry rub generously over each piece.
- Use your hands to massage it in thoroughly. Make sure every part gets covered with seasoning.
- Don’t forget to season under the skin too. Let the chicken sit for 30 minutes minimum.
- This allows flavors to soak into the meat.
- Combine vinegar, water, and oil in a bowl.
- Add Worcestershire sauce and hot sauce to it. Mix in the salt until everything combines well.
- Taste and adjust the seasoning if needed. Keep this sauce ready beside your grill.
- Light your charcoal and let it burn down. You want medium heat, not blazing hot flames. Push coals to one side for indirect cooking.
- This prevents the chicken from burning too quickly. Oil your grill grates to prevent sticking issues.
- Place chicken pieces on the cooler grill side. Skin side should face up at first. Close the lid to trap the smoke inside.
- Let it cook for about 20 minutes undisturbed. Don’t peek too often or heat escapes.
- Open the grill and baste chicken with sauce. Use your brush to coat each piece generously. Flip the chicken to cook the other side.
- Baste again after flipping for maximum flavor. Close the lid and cook 20 minutes more.
- Keep basting every 15 minutes until chicken is done. The sauce creates that signature tangy flavor.
- Flip the pieces occasionally for even cooking. Watch for flare-ups from dripping fat carefully. Move chicken away from any flames immediately.
- Insert your meat thermometer into the thickest part. It should read 165°F for safe eating. The juices should run clear, not pink.
- The skin should look golden and crispy. If not done, cook a few minutes longer.
- Remove chicken from the grill onto a platter. Let it rest for 10 minutes before serving.
- This keeps all the juices inside the meat. The resting time makes chicken extra tender. Serve hot with your favorite summer sides.
Notes
- Start with quality chicken from a trusted source. Fresh chicken always tastes better than frozen options.
- Don’t rush the marinating time for best results. Patience makes the flavors develop properly and deeply.
- Keep your grill temperature steady throughout the cooking. Too hot will burn the outside quickly.
- Too cool takes forever and dries the meat. Medium heat gives you the perfect balance needed.
- Baste often but don’t overdo it completely. Each basting adds flavor but also cools down.
- Find your rhythm between basting and cooking time. The vinegar sauce keeps the chicken moist always.
- Use real charcoal instead of gas if possible. Charcoal gives that authentic smoky Port A Pit taste.
- Wood chips add even more delicious flavor depth. Hickory or apple wood work wonderfully for chicken.
- Let the chicken rest after cooking is finished. Cutting immediately releases all the precious juices.
- Those 10 minutes make a huge difference overall. Your patience will be rewarded with tender meat.