

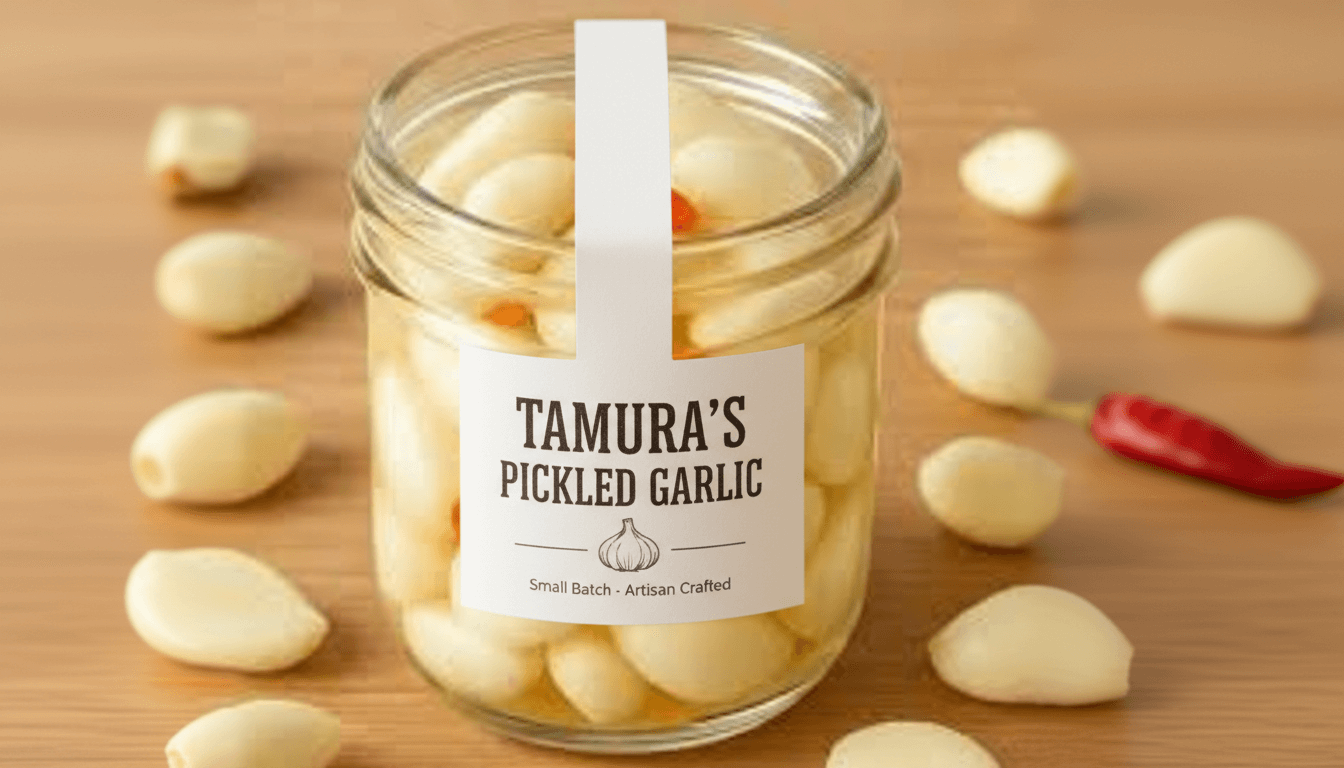
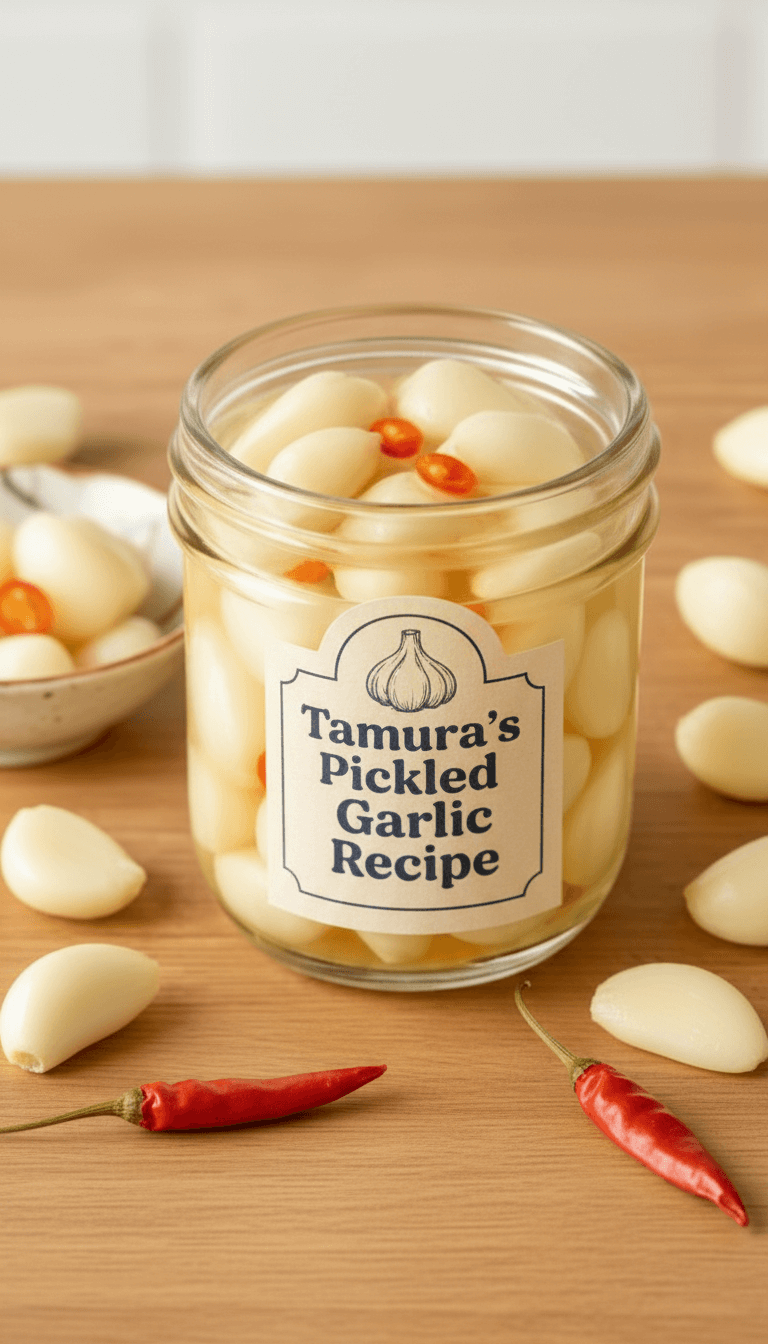
Tamura’s Pickled Garlic Recipe is a real treat. Have you ever tried it? It is tangy and sweet. Also, super easy to make at home. Many people love this Tamura’s Pickled Garlic Recipe for its unique flavor.
You don’t need fancy skills. Just follow some simple steps. This special Tamura’s Pickled Garlic Recipe will surely impress your family and friends. Get ready to enjoy a delicious snack.
When I First Introduced to Tamura’s Pickled Garlic
I remember the first time I tasted this garlic. It was at a family gathering. A friend brought a small jar. I was a bit unsure. Pickled garlic? But I took one small bite. Wow! It was not what I expected.
The sharp raw garlic taste was gone. Instead, it was mellow and sweet. There was a lovely vinegar tang too. I immediately asked for the recipe. It has been a favorite in my house ever since. I love sharing it with others.
Equipment List
You will need a few simple things.
- Glass jar with a tight lid.
- Small saucepan.
- Measuring cups.
- Measuring spoons.
- Cutting board.
- A small knife.
- A wooden spoon for stirring.
Ingredients You Need for Tamura’s Pickled Garlic
The ingredients for Tamura’s Pickled Garlic Recipe are quite common. Here is what you need.
- 1 pound fresh garlic cloves, peeled.
- 2 cups white vinegar.
- 1 cup white sugar.
- 1 tablespoon salt.
- 1 tablespoon pickling spice.
- 1 teaspoon black peppercorns.
- 1 small dried chili (optional).
- A piece of kombu (kelp), about 2 inches.
Step-by-Step Guide for Tamura’s Pickled Garlic
Follow these simple steps. It’s so easy. How to make Tamura’s Pickled Garlic will be a breeze for you.
1. Peel the Garlic Cloves
This is the hardest part. Peel all the garlic cloves. Make sure they are clean. Set them aside.
2. Prepare the Jar
Use a clean glass jar. You can sanitize it in boiling water. This keeps your pickled garlic safe. Let it air dry completely.
3. Make the Pickling Liquid
Get your saucepan. Add the vinegar and sugar. Add the salt, pickling spice, and peppercorns. Put the dried chili and kombu in too. Turn the heat to medium.
4. Heat the Mixture
Stir the liquid. The sugar and salt should dissolve completely. Let the liquid come to a gentle boil. This heats all the flavors together.
5. Add the Garlic
Carefully put the peeled garlic into the hot liquid. Let it simmer for just 1-2 minutes. This keeps it crunchy. Do not overcook it.
6. Fill the Jar
Remove from heat. Place the garlic into the clean jar. Pour the hot liquid over it. Ensure all the garlic is covered.
7. Seal and Cool
Put the lid on the jar tightly. Let it cool on the counter. Then, store it in the refrigerator.
Tips to Make the Best Tamura’s Pickled Garlic
- Always use fresh garlic. Old garlic is not as good.
- Use white vinegar for a clear color.
- Be careful not to boil the garlic too long. It should stay crisp.
- Let the garlic pickle for at least a few weeks. The flavor develops over time. The longer it sits, the better it tastes.
- Use a non-reactive pan like stainless steel. This prevents a metal taste.
FAQs about Tamura’s Pickled Garlic
How to make Tamura’s Pickled Garlic less crunchy?
Boil the garlic for a bit longer. Just three to four minutes.
What ingredients for Tamura’s Pickled Garlic give the unique taste?
The combination of sugar and kombu. These add sweetness and umami.
Can I use apple cider vinegar instead of white?
You can use it. The flavor will be different. It will also make the liquid darker.
How long does the pickled garlic last?
It will last for months in the fridge. Make sure the jar is always sealed tightly.
Why is my pickled garlic a blue or green color?
This is a natural reaction. The acid in vinegar does this to garlic. It is safe to eat.
Final Thoughts
Making Tamura’s Pickled Garlic Recipe is a joy. It is simple to do. The taste is incredibly rewarding. You get a perfect mix of sweet and sour. It is a great way to preserve fresh garlic.
Everyone can make Tamura’s Pickled Garlic Recipe. Your family will love it as a snack. It also goes great on a charcuterie board.
Give it a try soon. You will be so glad you did. Your home will smell amazing. And your taste buds will thank you.
Tamura’s Pickled Garlic Recipe
Ingredients
- 1 pound fresh garlic cloves peeled.
- 2 cups white vinegar.
- 1 cup white sugar.
- 1 tablespoon salt.
- 1 tablespoon pickling spice.
- 1 teaspoon black peppercorns.
- 1 small dried chili optional.
- A piece of kombu kelp, about 2 inches.
Instructions
Peel the Garlic Cloves
- This is the hardest part. Peel all the garlic cloves. Make sure they are clean. Set them aside.
Prepare the Jar
- Use a clean glass jar. You can sanitize it in boiling water. This keeps your pickled garlic safe. Let it air dry completely.
Make the Pickling Liquid
- Get your saucepan. Add the vinegar and sugar. Add the salt, pickling spice, and peppercorns. Put the dried chili and kombu in too. Turn the heat to medium.
Heat the Mixture
- Stir the liquid. The sugar and salt should dissolve completely. Let the liquid come to a gentle boil. This heats all the flavors together.
Add the Garlic
- Carefully put the peeled garlic into the hot liquid. Let it simmer for just 1-2 minutes. This keeps it crunchy. Do not overcook it.
Fill the Jar
- Remove from heat. Place the garlic into the clean jar. Pour the hot liquid over it. Ensure all the garlic is covered.
Seal and Cool
- Put the lid on the jar tightly. Let it cool on the counter. Then, store it in the refrigerator.
Notes
- Always use fresh garlic. Old garlic is not as good.
- Use white vinegar for a clear color.
- Be careful not to boil the garlic too long. It should stay crisp.
- Let the garlic pickle for at least a few weeks. The flavor develops over time. The longer it sits, the better it tastes.
- Use a non-reactive pan like stainless steel. This prevents a metal taste.